DIY Fresh Christmas Garland
Is there anything better than the smell of fresh evergreen throughout the house during the holiday season? It is part of the reason we get a real Christmas tree for our family room each year! We live in a small-ish town and I have always had trouble finding the gorgeous, lush, fresh garland I see online. Home depot occasionally has some, but most of the time it looks a little scraggly, at least by the time it gets way out here! And buying online is an option, but it’s sometimes costly and you can’t be 100% sure what you’ll get when it arrives.
This year, making garland wasn’t exactly on my list of things to do… between planning for our daughter’s first birthday, finishing up Christmas shopping, two busy toddlers, and just 2020, ya know? But when a few things fell through for my daughter’s first birthday photo shoot, I decided now is as good as time as ever to give it a shot!
I watched a youtube video during my girls’ naps and set to work. I clipped a bunch of sprigs from the cedar and pine trees in our backyard, found some wire in my husband’s work bench, ribbon from our holiday gift wrap bin and had my hubby grab a few bunches of $4 clipped greens for variety from the local grocery store.
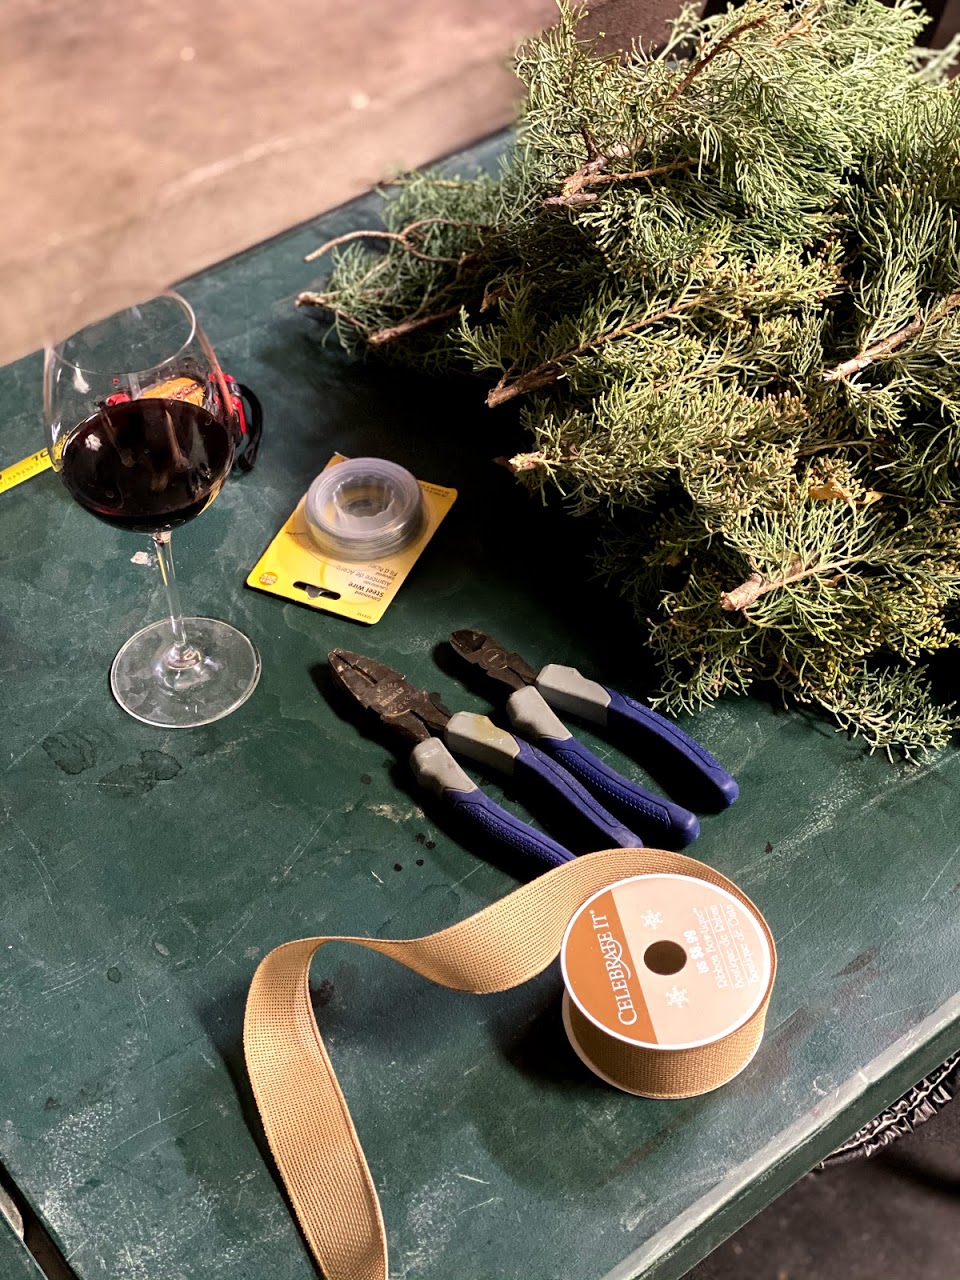
Supplies: Wire cutters for cutting the stems, 22 – 24 guage wire (green suggested), ribbon (or rope, thick sturdy string– I will use this next time), evergreen clippings, and probably some wine. Also suggested: gloves to protect your hands, the cedar I used had a lot of little thorns!
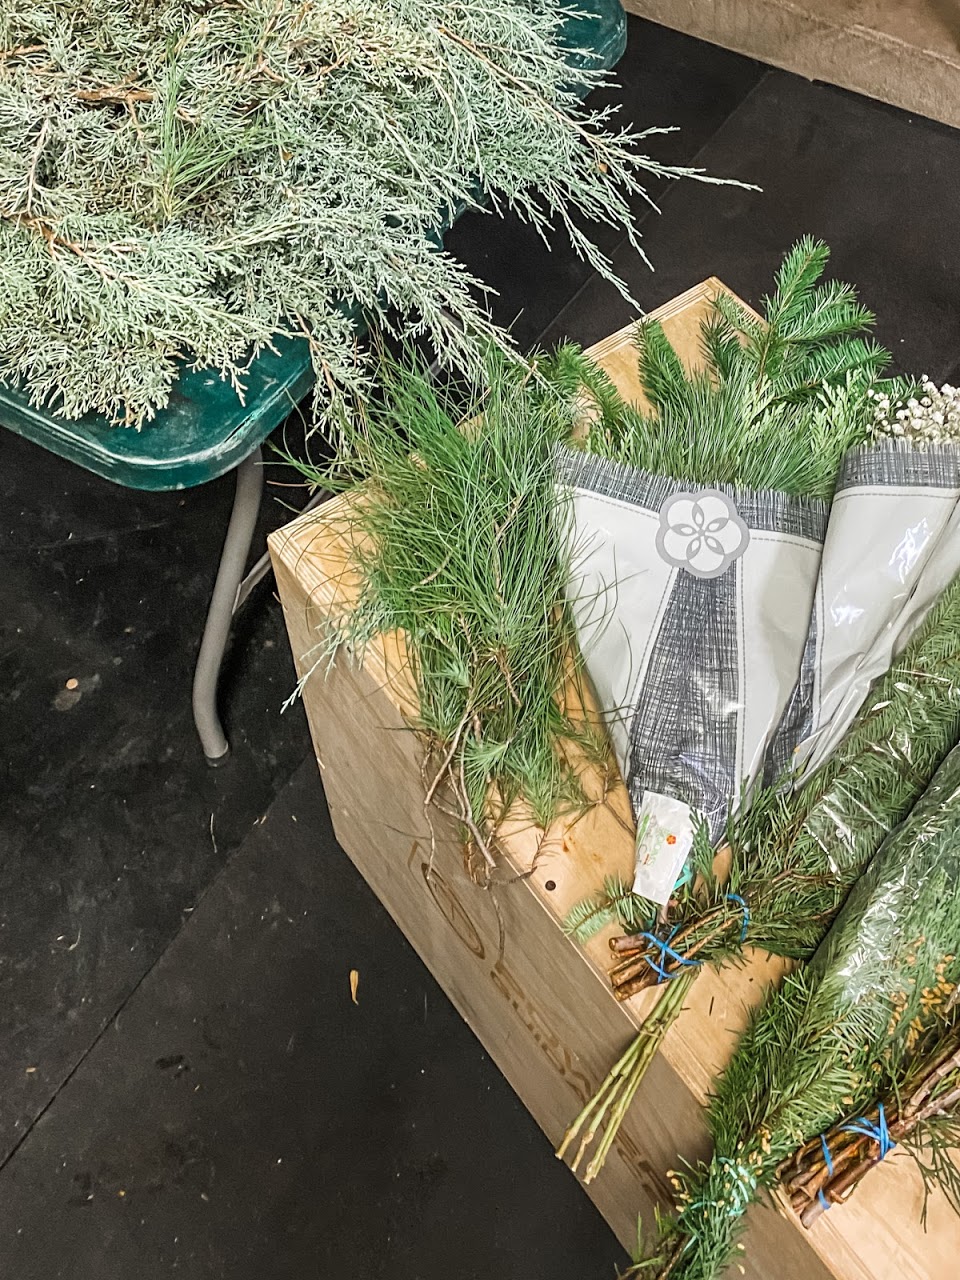
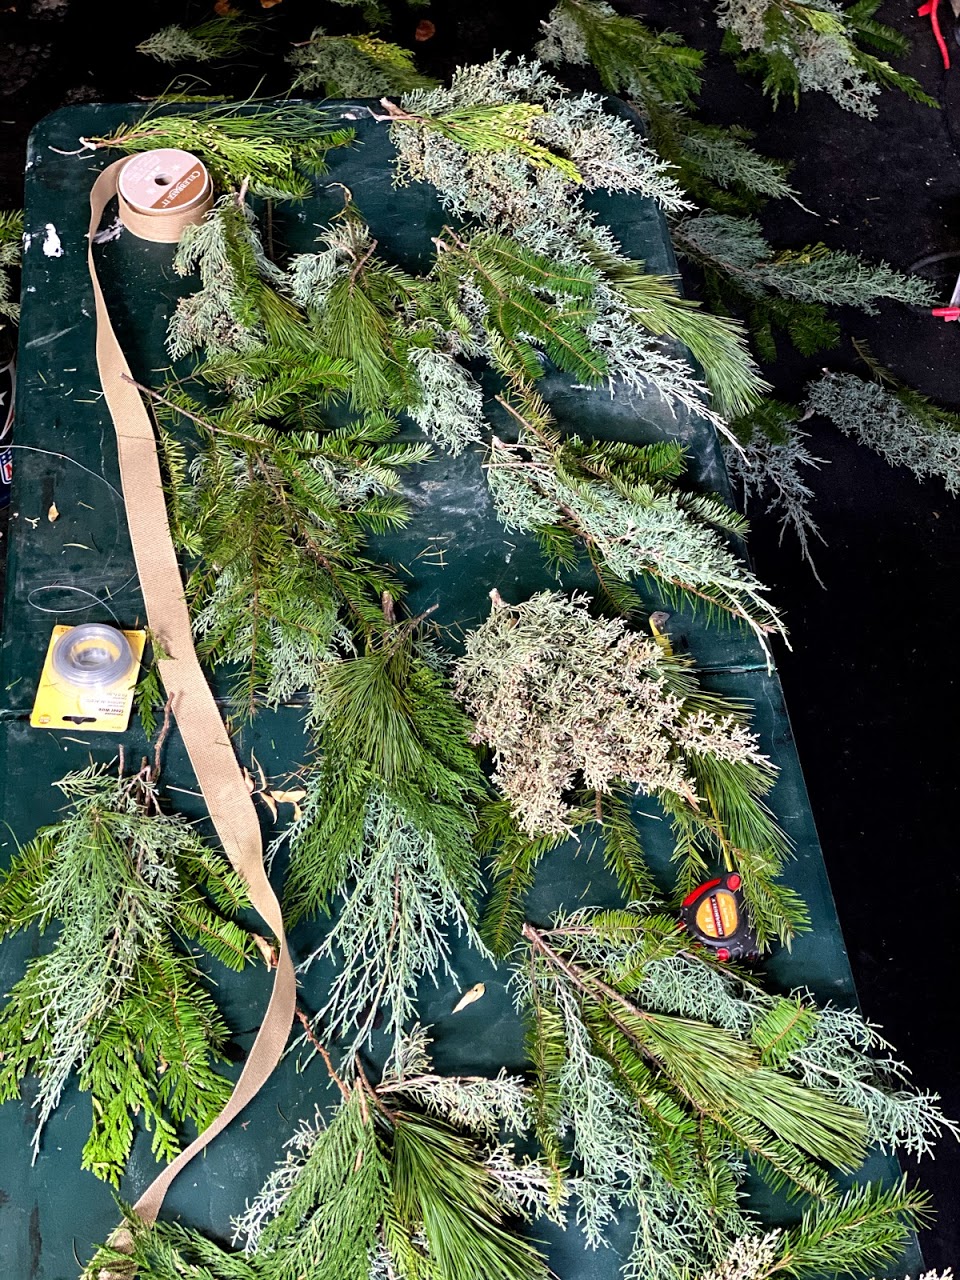
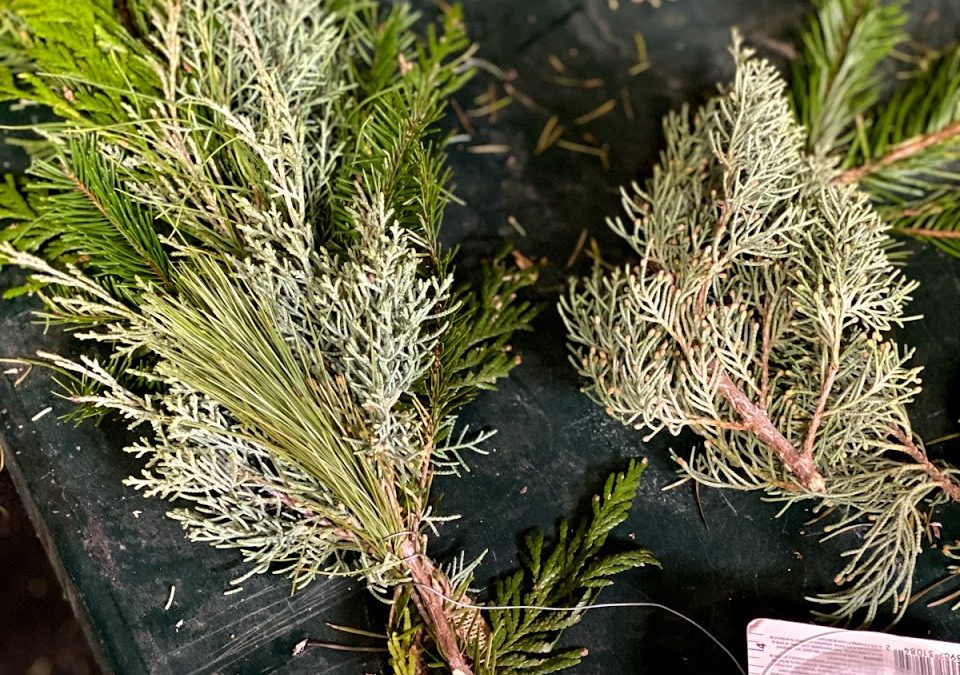
Top left are the cedar clippings, a few pine clippings below, and the evergreen stems from the grocery store (disregard the baby’s breath, that was for something else!)
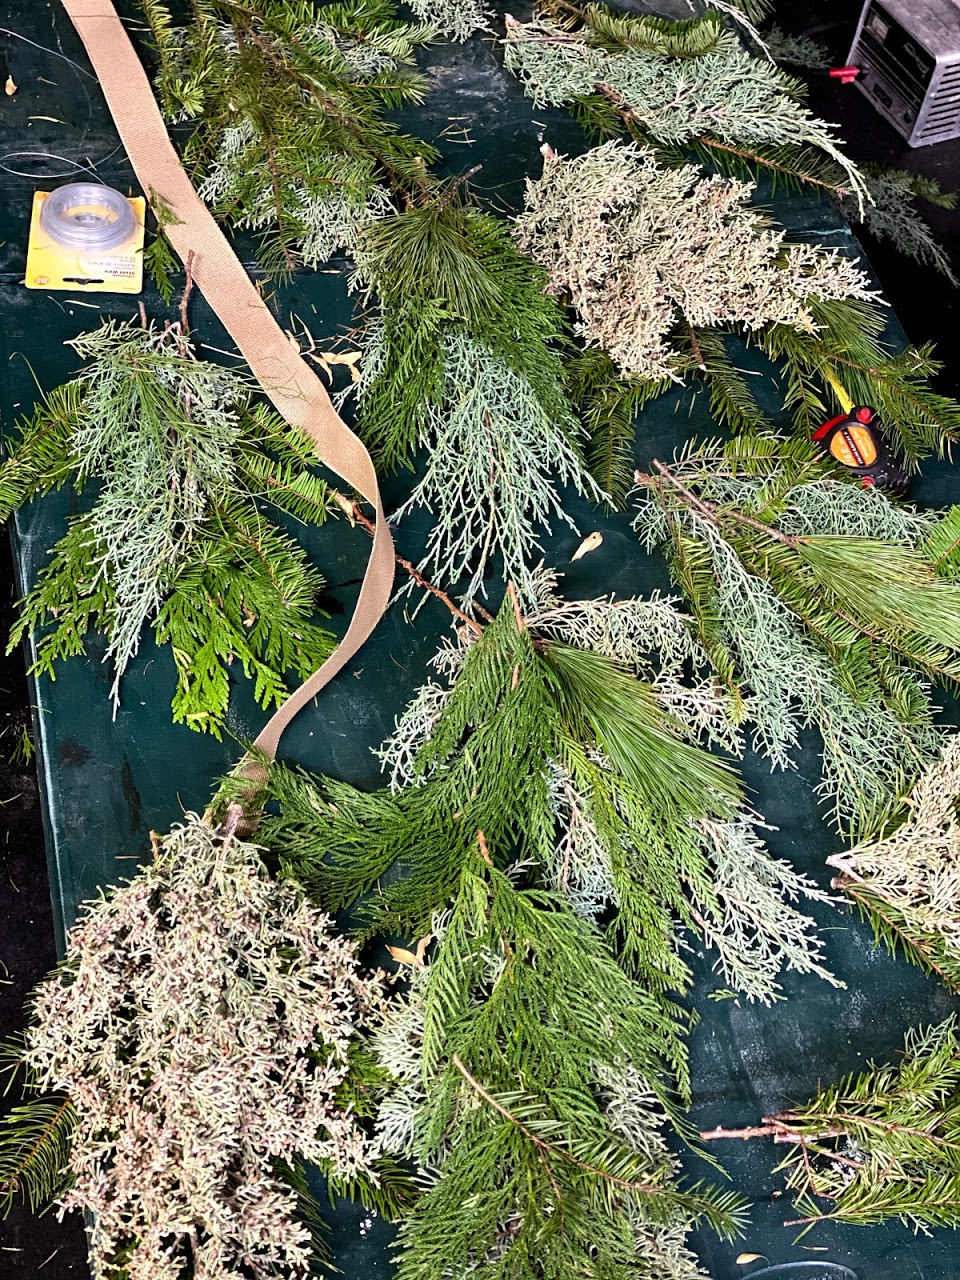
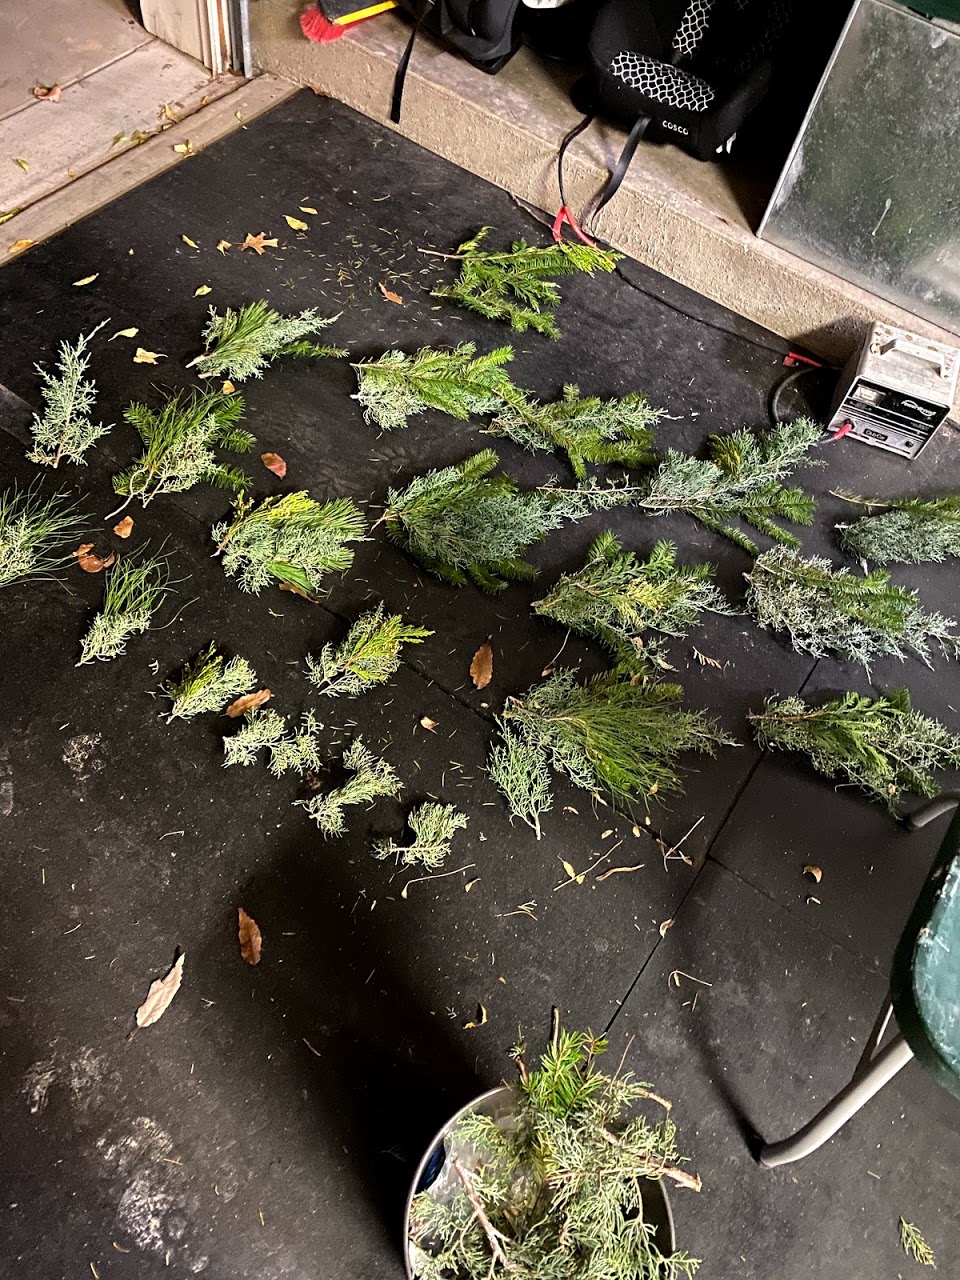
Next step is separating all of your sprigs into little bunches. Because I had a variety of different types, I wanted to make sure they were evenly distributed through the entire length of the garland.
By separating into little bunches, it allowed me to roughly see how many I would need and if I needed to go cut more in the backyard before I got started!
Next is creating a loop in you ribbon or rope for hanging. Make sure this is a very strong knot, real garland can get heavy!
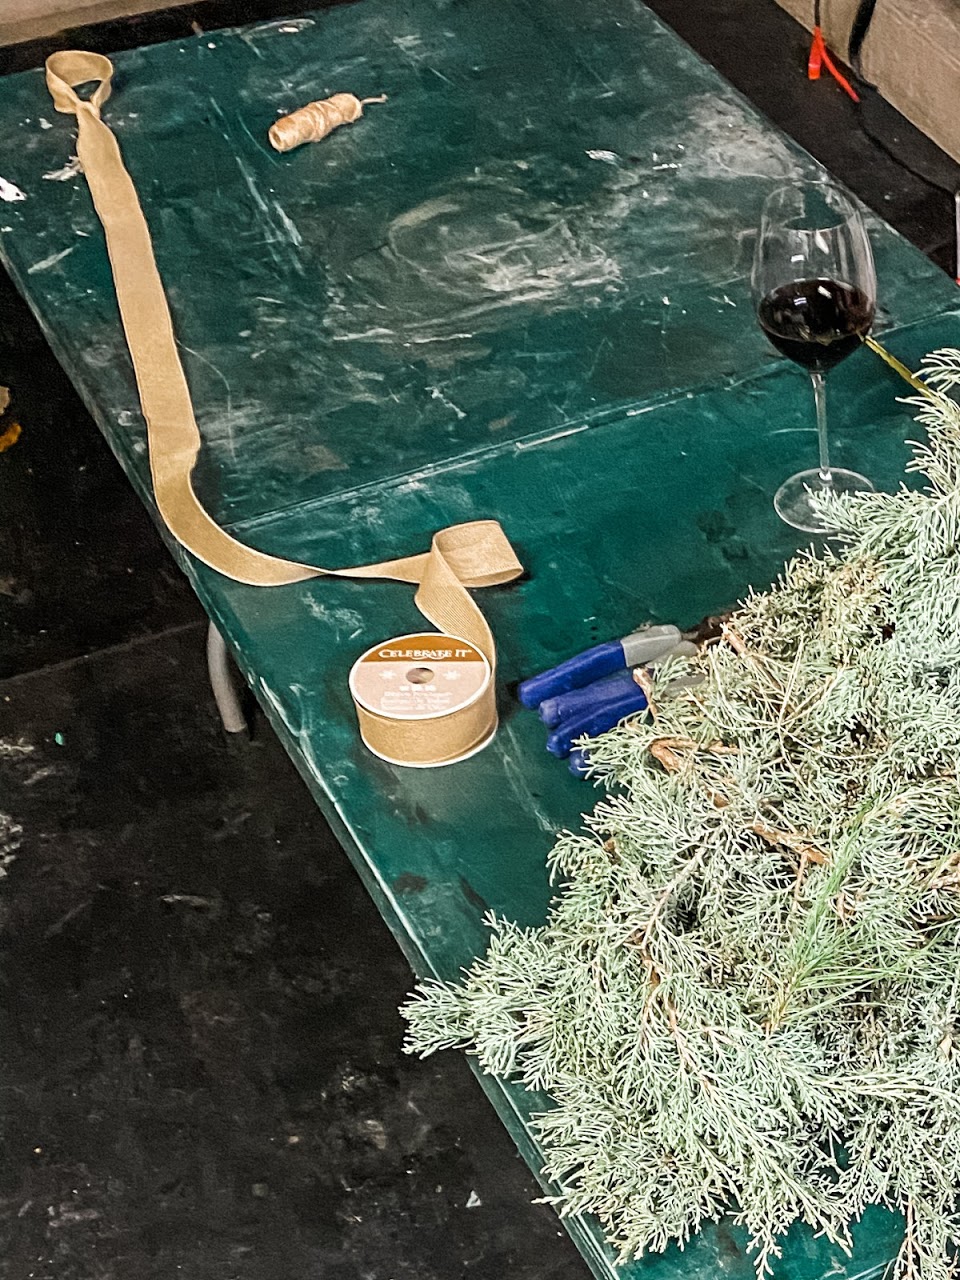
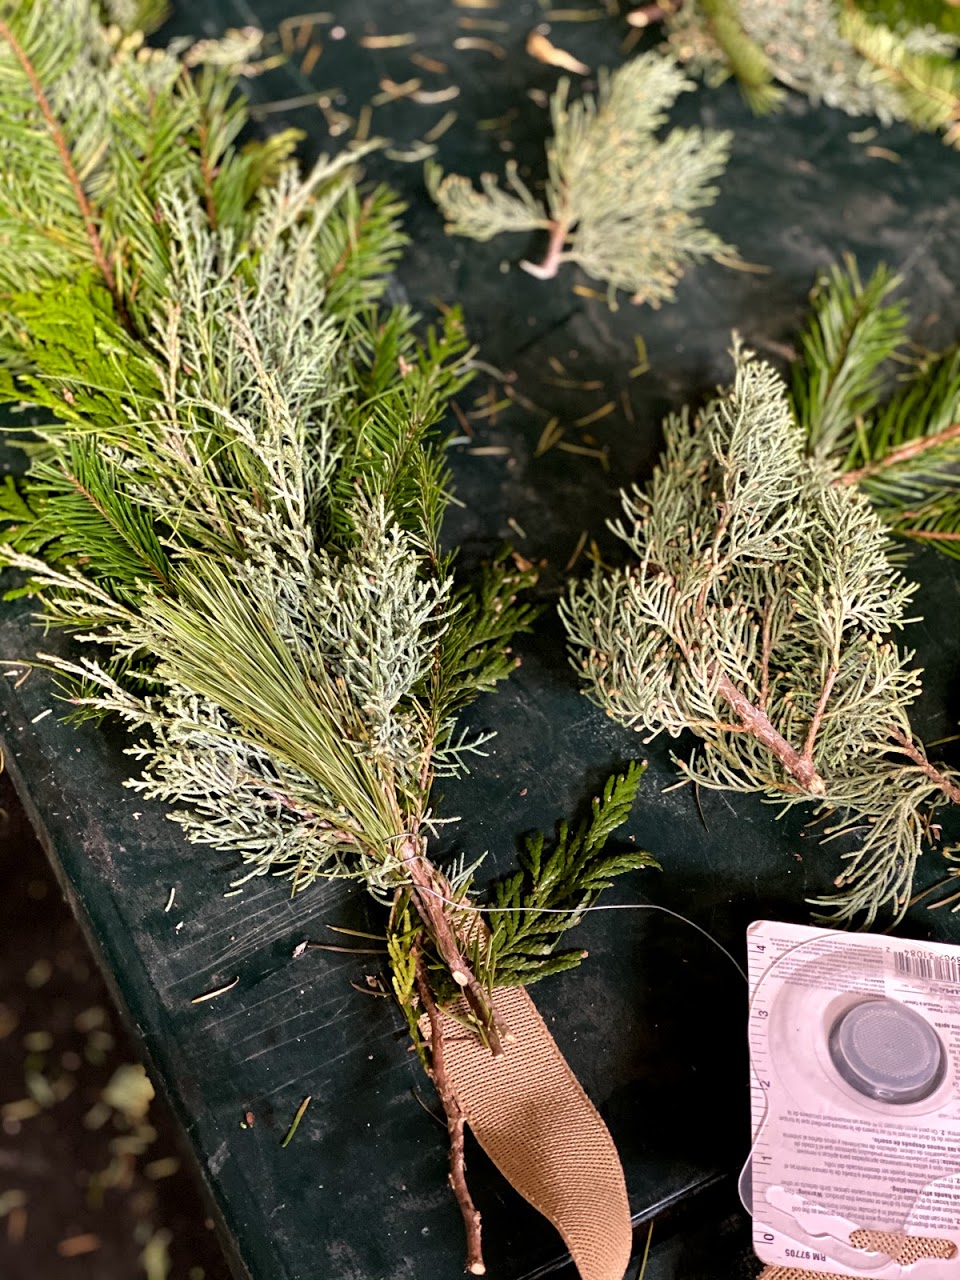
Next, grab your first bunch that will be one of the ends. Begin by placing it over the loop you created to cover it. Then use your twine/wire and wrap several times around the bunch, as tightly as you can. Do not cut the wire! It will be one long continuous wire throughout the whole garland.
Grab the next bunch and place it over the first bunch, creating a small overlap. How thick your bunches are and how closely they overlap will determine the thickness or how lush your garland will be. Use the wire and wrap tightly a few times, then add the next bunch. Continue down the length of your garland.

Once you reach the desired lenght, place a small bunch facing the opposite way. Work it in and add the wire. Create a loop with the ribbon on this end, with the wire and secure it tightly.
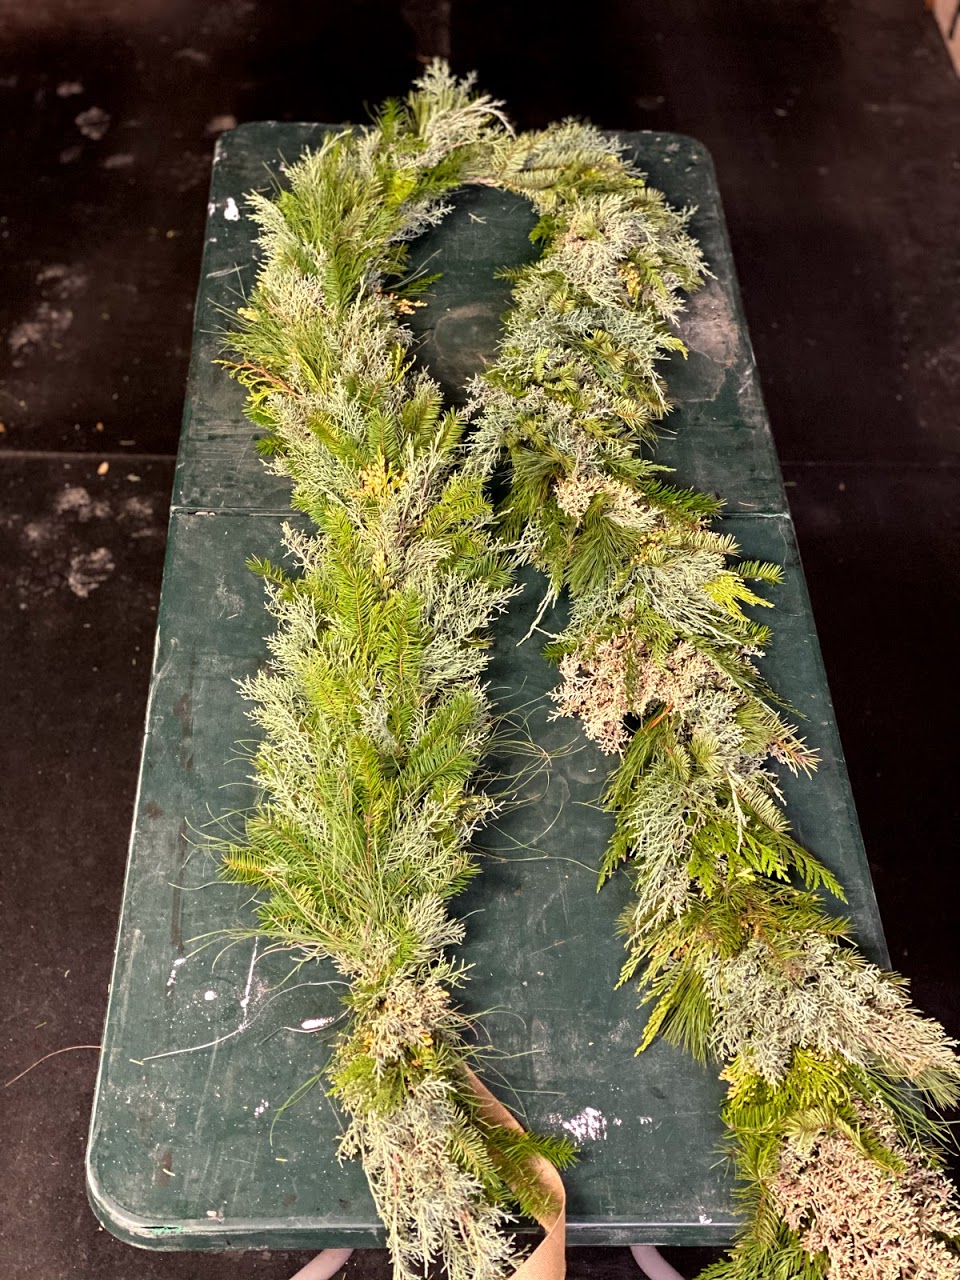
All finished and it smells wonderful! I hope you enjoy making this. I can’t wait for next year to have some friends over and all make garland together! Girls night anyone?!
Merry Christmas and happy decorating!
Love, Mama M
Note: This post contains affiliate links. If you purchase a product through one of these links, you won’t pay anything extra, but I will get a small commission, which helps keep this blog going. Thank you!

 Hello! Welcome to my blog, Mama McClintock. I am a nurse turned stay-at-home mama and this is all about our Montessori-ish inspired home, simple, healthy living and life raising our two girls.

0 Comments